Management
Import a Rack
Whilst we recommend creating your Racks through the Convox Console, you can create Racks through the CLI or via our new Convox Installer process.
If you wish to then manage and configure your Rack through the Console, you will have to import the Rack.
Importing an AWS Rack to your Console account through your Runtime Integration
If you have an AWS Runtime integration then it’s very simple to import your Rack (if you installed it in the same AWS account that you are integrated with):
- From the ‘Racks’ page within the Console, click on the ‘Add Rack’ dropdown and select your runtime integration.
- Switch to the ‘Import Rack’ tab within the pop-up that appears.
- Select the Region your Rack was installed in,
us-east-1by default unless you specified differently during installation. - Convox will pull a list of all Racks installed in that region, so now choose your Rack’s name from the drop-down.
convoxby default, but if in doubt, it will be the first part of the hostname reported in the output of installation. - Now you may optionally change the name by which this Rack is known within Console, before clicking on ‘Import Rack’ to include it within your Console account.
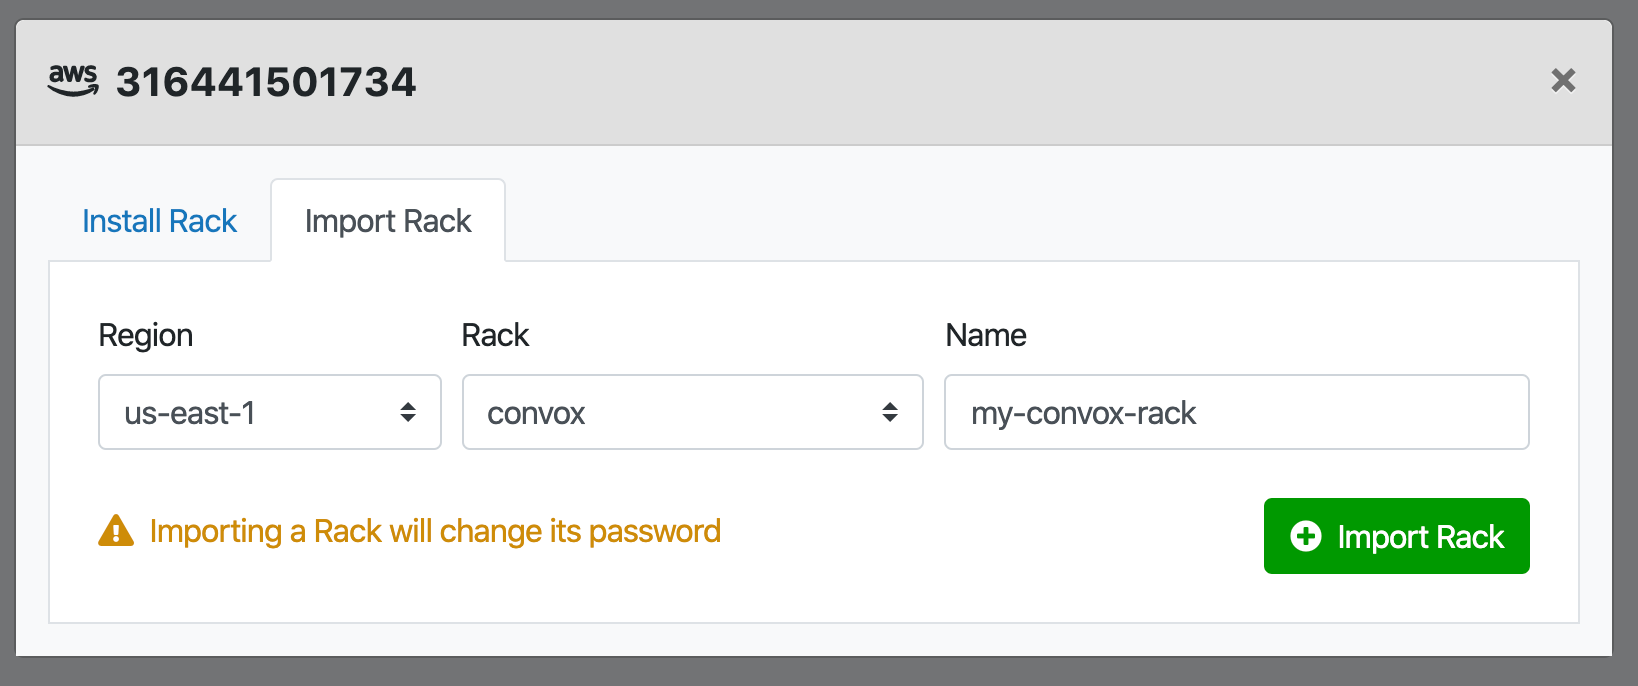
Please note that importing the Rack in this manner will change the password that you set during installation.
Importing a GCP/AWS/Digital Ocean Rack to your Console account without a Runtime Integration
If you have installed your Rack in GCP, Digital Ocean, or do not have an AWS Runtime integration you can also easily import your Rack:
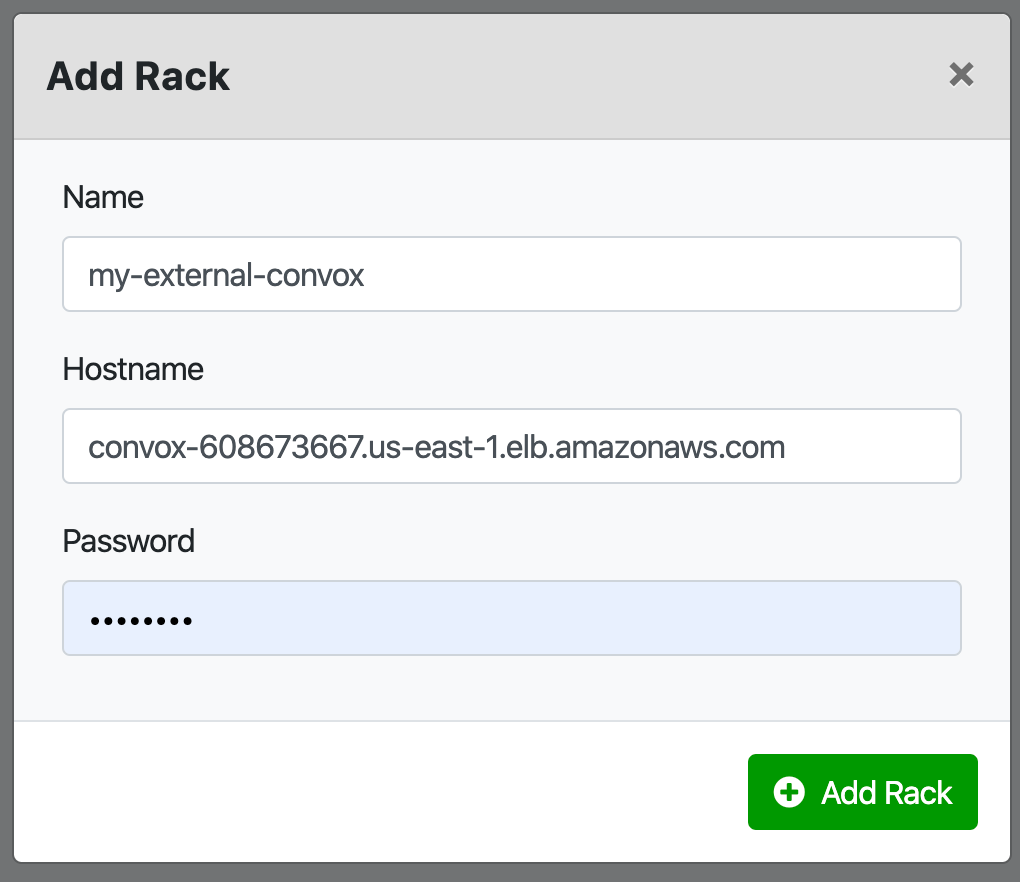
- From the ‘Racks’ page within the Console, click on the ‘Add Rack’ dropdown and select the ‘Manual’ option.
- Fill in your chosen name for the Rack, the hostname as reported by the installation, and the password you set during installation.
- Click on ‘Add Rack’ and the Rack will be imported to your Console account.